


How eBlast111 Works
In just a few easy steps you can be on your way to sending professional looking email messages to all your contacts and tracking the progress of your campaigns. To get started, just sign in with the username and password you requested on signing up. Once you are logged in, you will see two sections: one for Content and one for Admin.
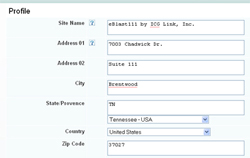
Step 1 Setting up Your Profile
In the Content area, add your company name and contact information to the Profile section.
Step 2 Adding and Organizing Your Contacts
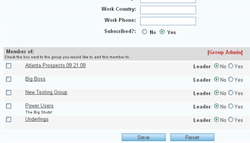
The first thing you will do is set up Groups. You can organize all your contacts into groups based on your needs and then send mail to the groups. For example, you might organize them by location, business type, interests and so on. You can choose your groups to suit your specific needs and any contact can belong to more than one group.
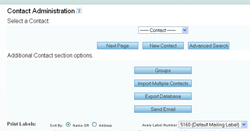
Once you have your groups created you will add your contacts. If you have an existing database you can import your existing contacts directly into your groups. You can also enter new contacts manually. At the bottom of each individual contact's profile you will find the group admin area. Here you can select the Groups with which each particular contact is affiliated.
Step 3 Preparing Your Message
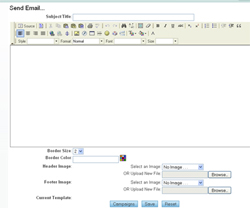
Now that you have your contacts and groups set up, you are ready to send out your first eBlast! From Campaigns in the Content section, you first select a New template. If you have created mail campaigns in the past, you can use one of those as a template instead of starting fresh.
Then you put together your email message by adding all the content, images and links you want. You can even personalize your messages with other content from the data you imported such as First Name. This is also where you will insert your own custom email header and footer to give your message a completely custom, professional look to match all your other marketing and branding efforts. Our designers and graphic artists are happy to assist with artwork if you need our help.
Save your work and then preview the email you have created to see how it is going to look. Once you are happy with it, click on Send for your sending options.
Step 4. Sending Your Message.
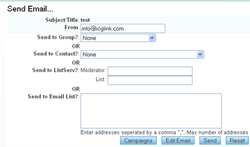
First, you will select who will receive your message. You can send it to a Group, an individual Contact or even to a manually-entered list of up to 25 addresses who aren't in your database. Next, you will click on Send and your eBlast is sent to your constituents. Congratulations!
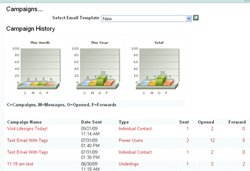
You will be able to monitor the activity generated by your eBlast once it has been sent by reviewing the Campaigns section and the built-in statistics that generate the Campaign History graphs. Here you will see a record of all your campaigns and details on when they were sent, how many messages went out, who opened them and how many were forwarded to others.
ICG LINK:INTERNET CONSULTING GROUP
7003 Chadwick Dr., Ste. 111
Brentwood, TN 37027
P - 877.397.7605
7003 Chadwick Dr., Ste. 111
Brentwood, TN 37027
P - 877.397.7605